|
 |
 |
 |
 |
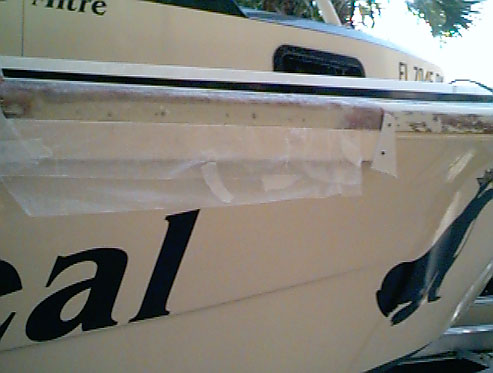
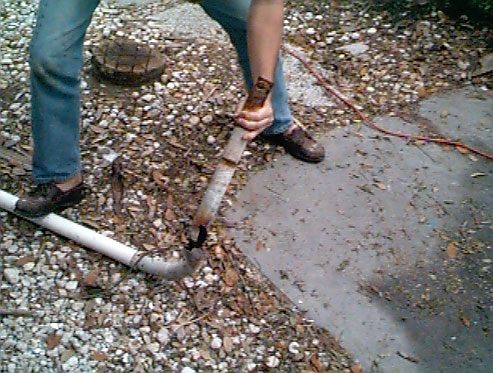
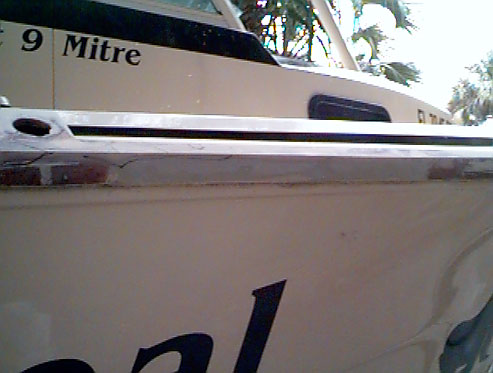
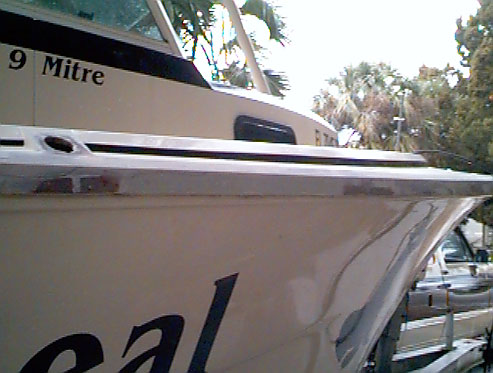
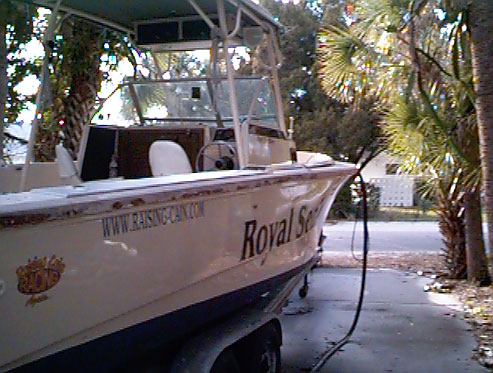
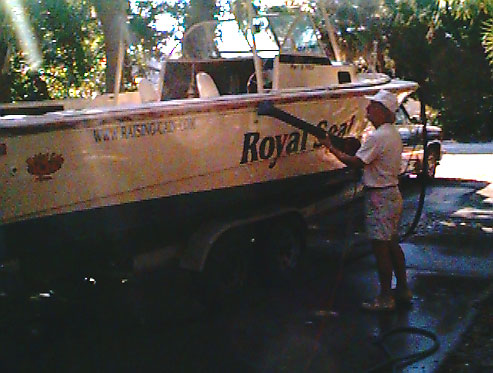
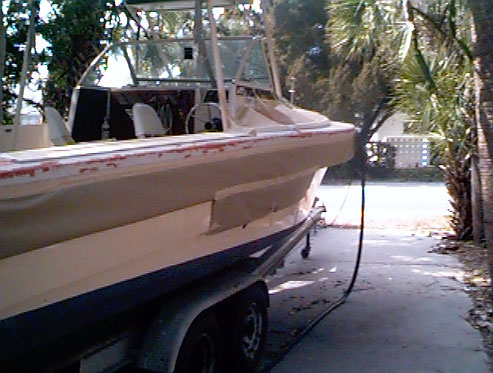
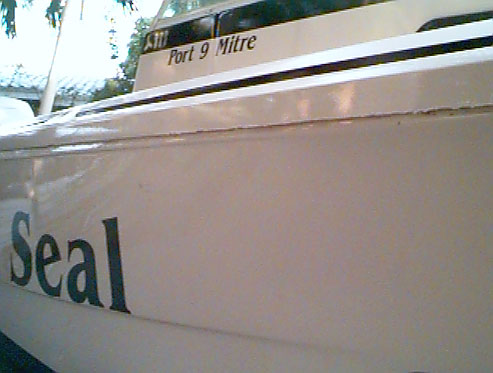
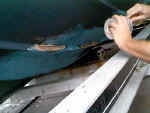
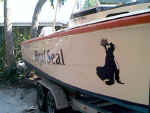
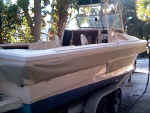
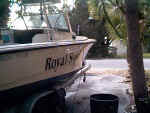
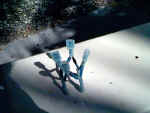
The before
shot. At present, I don't have one! But I'm looking....
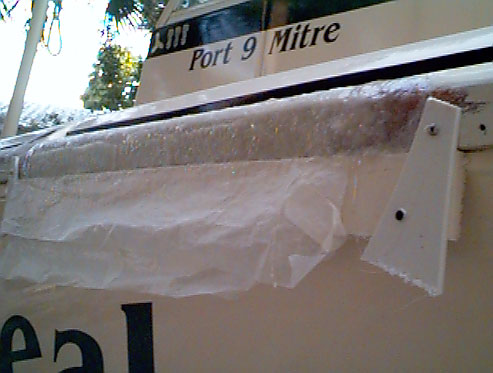
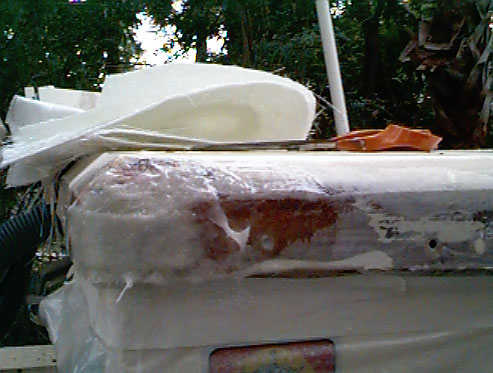
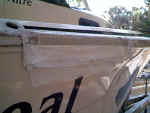
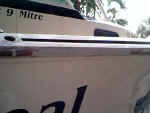
A nice bash in the side, about 2 foot long, destroying the lip of
fiberglass the connects the top half of the boat to the bottom half.
Not an important thing at all. |
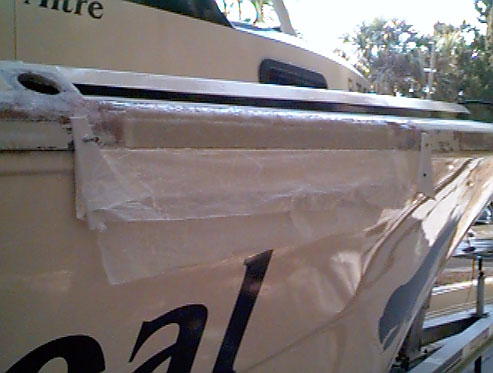
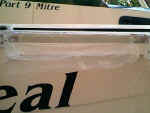
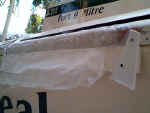
Well
here's the first layer of new glass in place, it'll take a few
more...... |
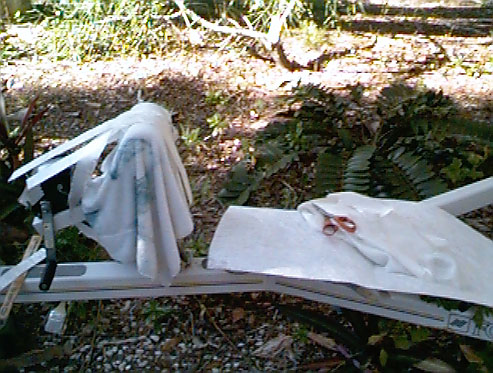
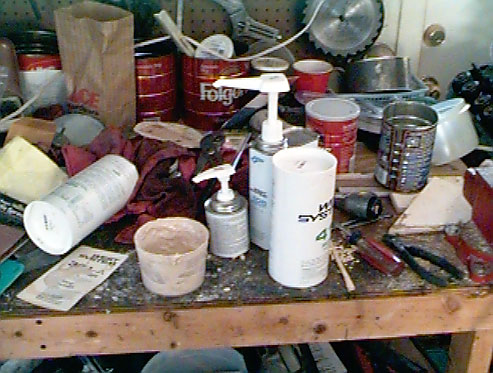
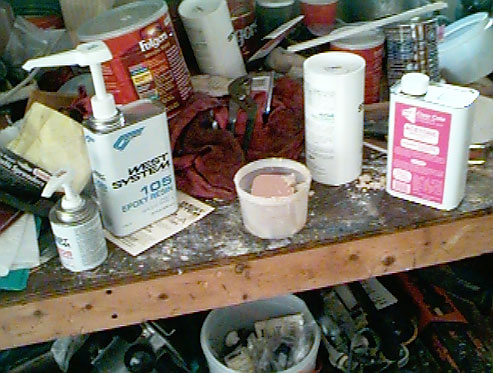
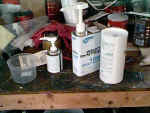
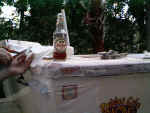
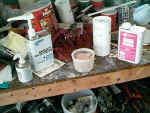
Several
days later.....Finally warm(ish) out.
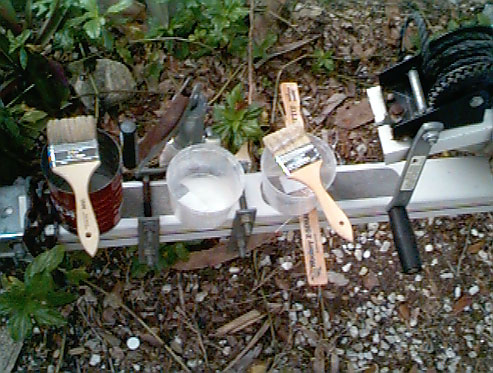
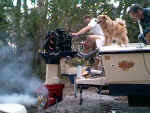
Here's the mixin's for makin boats. |
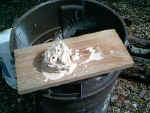
Sheets of
fiberglass mat & cloth. There's some strips cut out there too. Note
the professional workbench. |
 |
 |
 |
 |
|
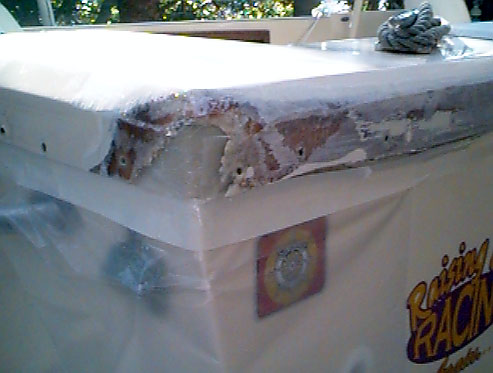
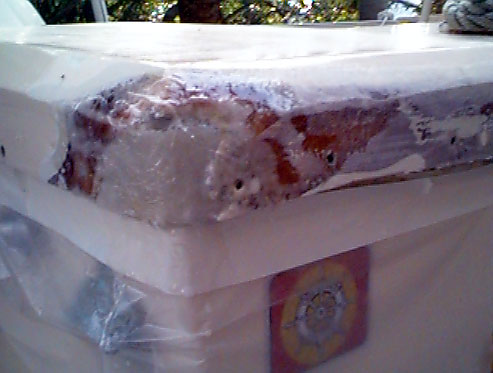
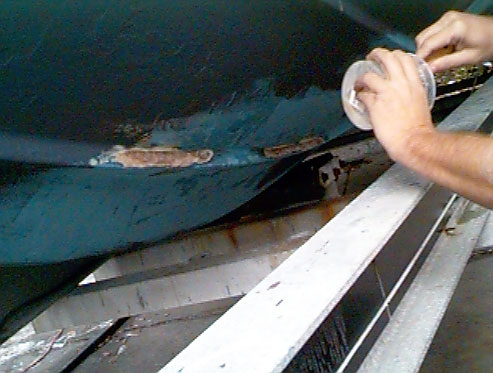
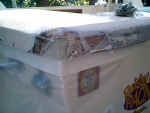
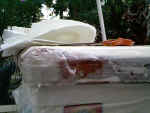
Several
more layers of glass. |
Another
view, there's 7 layers give or take, a few more to go. This is quickly
becoming the strongest part of the boat |
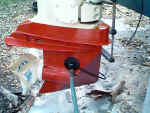
The back
corner, also getting some glass. This corner gets fixed every year.
Someone want to make us a Stainless Steel corner? |
Another
few layers....
Up to 10+/-. Pretty close to done with the rough work. |
 |
 |
 |
 |
|
Here's
that corner again. It has quite a few layers now too. How's that
Stainless Steel coming? |
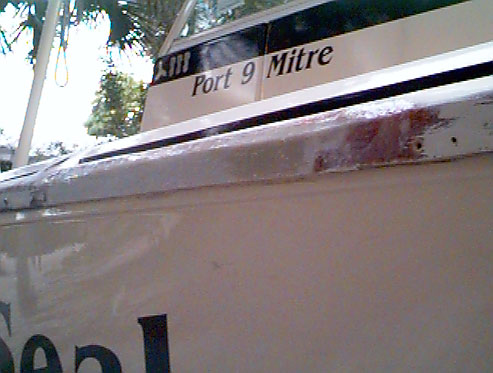
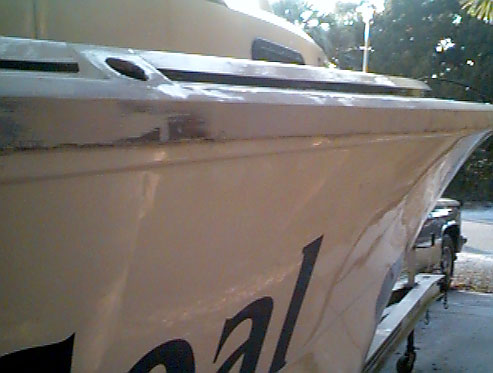
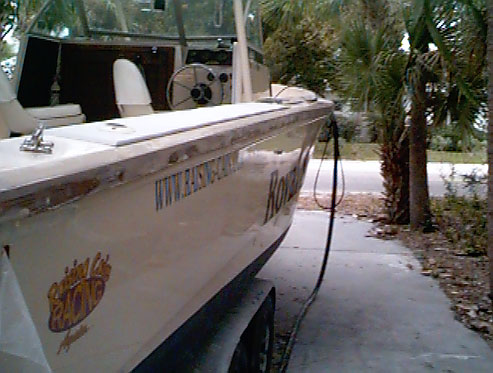
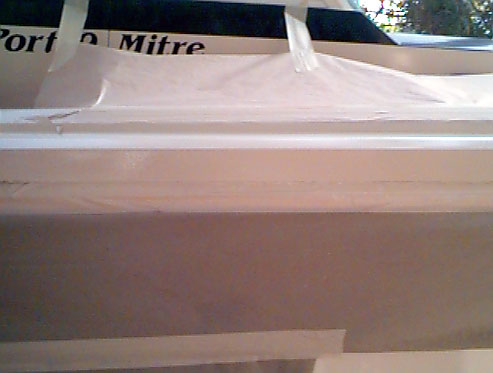
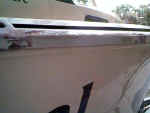
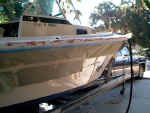
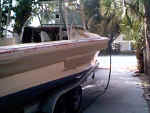
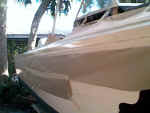
The big
BASH, I removed the plastic dam along the bottom & started sanding
(grinding.) Even I am amazed at the results! |
Another
view, post sanding. Pretty good so far, much finish work to go. I may
have sanded off a layer or 2 of glass. |
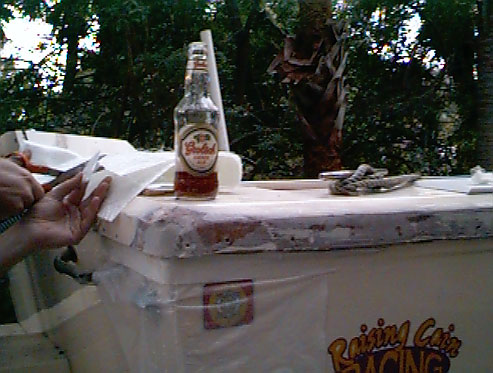
The corner
still needs some glass, so we got some beer. |
 |
 |
 |
 |
|
A new day,
a new batch of Mixin's. |
Then we
added glass, the corner is getting close, still needs some more to be
"square." |
Some minor
dings on the bottom, I think from sanding too much. A little epoxy &
this problem too shall disappear. Or at least we will cover it in
thick bottom paint. |
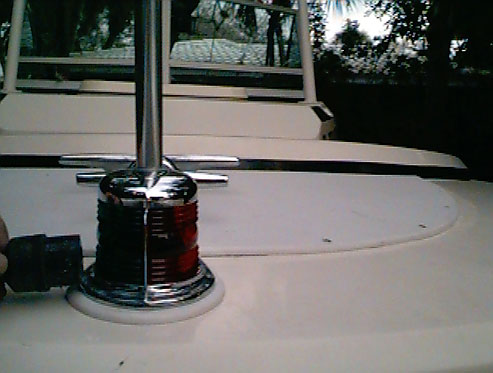
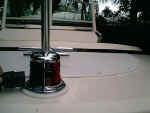
Somebody
claims to have conducted some kind of HUGE project on the bow light. I
don't see anything different, I think these people had too much beer &
imagined it. |
 |
 |
 |
 |
|
And then,
well beer influenced me & I busted stuff! Minor part of the trailer,
it's not needed? |
We're on
the second set of mixin's. |
We're
getting somewhere now! |
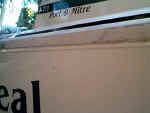
Now for
the tough part, getting everything straight & smooth. There's only one
edge that really matters, get that close & all will be well. Of course
that's some 15-20 feet of straight...... |
 |
 |
 |
 |
|
Gratuitous
Bugsy shot. |
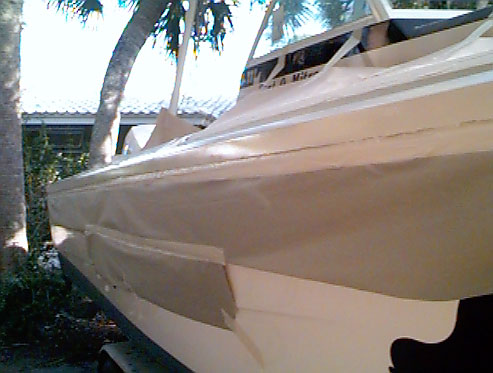
We're
getting close! One more layer of epoxy goo, & we should have that line
damn straight! |
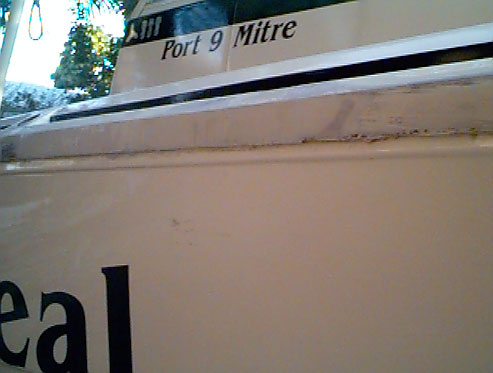
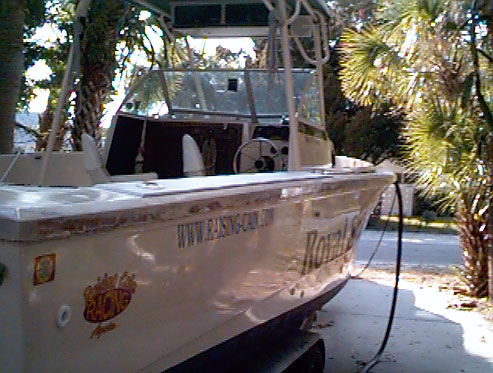
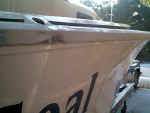
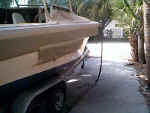
The repair
spot yet again.... Hard to tell where it is now huh? |
Well we're
on the 3rd batch of mixin's! Mainly due to.... |
 |
 |
 |
 |
|
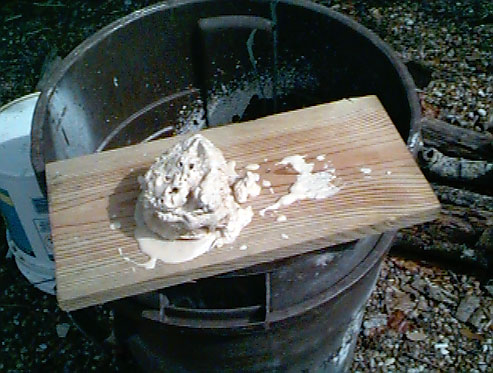
This goof.
I tried to make a really big batch of goo and it kicked over really
fast, got real hot, & smoked. Very scary stuff. |
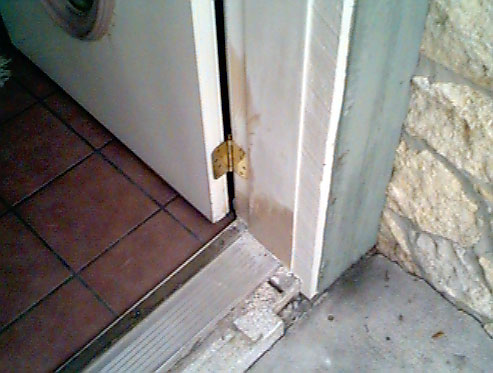
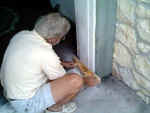
And
here's why I was making a big batch. There was some rot along the
bottom of the front door jambs. I ground out all the bad wood &
started filling with epoxy. Just like
Norm, or maybe
it's Tom Silva that uses the epoxy, whatever. . It needed a lot! Here
you see my faithful assistant sanding away.... |
Your daily
boat pix fix. hard to tell anything changed. Just chasing some of the
small imperfections. |
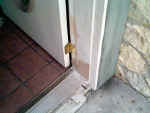
The door
is progressing nicely, I cut the groove for the weather-strip today.
Used 20+ cutting discs in the Dremel! |
 |
 |
 |
 |
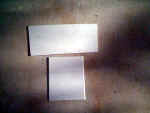
3M™ Stikit™ Hand File Board PN 05444 Hard, 2 3/4
in x 16 in, 1 per case
Man what a pain in the ass obtaining this thing
was!
Click here to read my tale of woe. |
Boat
repair shot #11. Pretty much just finish sanding left! & then
paint....... |
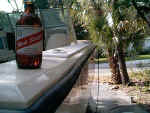
I'll
have a
Red Stripe! |
A layer of
glazing / spot putty. Makes a lovely stripe. Fills in the pin holes &
little scratches. |
 |
 |
 |
 |
|
Red stuff
all sanded off. Smooth as a baby's bottom. Wipe that pig down with
some acetone in the AM & we're painting! |
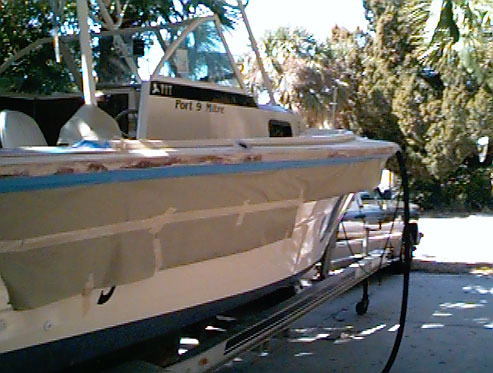
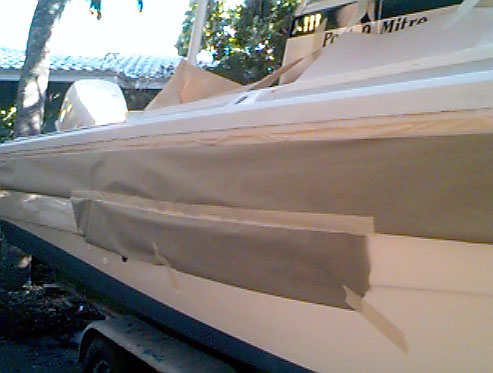
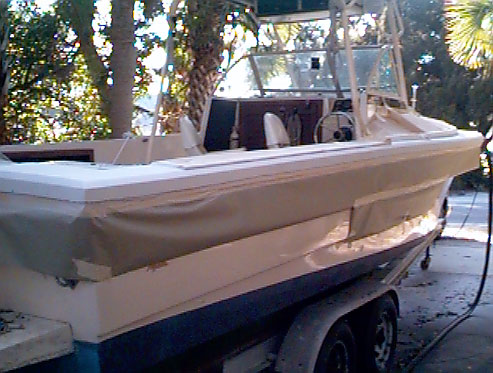
All masked
off & ready for the first coat of primer. |
and here's
said first coat! First coat of primer reveals the last remaining
pinholes, therefore more red stuff. Quickie sanding tomorrow, more
primer & we should be putting on the finish coat. Done by the end of
the week I say! |
&%$#@*&^
Went out this AM, sanded off the filler & sprayed some more primer.
The white primer I was using clogged up, so I switched to gray. The
gray reacted with something, causing what looks like wrinkle finish in
several spots! Same brand of paint? I dunno what happened. Now I wait
until tomorrow, sand this crap off & try again. %&$#@*&%#%! |
 |
 |
 |
 |
%$@#&*%
part duex
Went out this AM to sand off the evil gray primer, it definitely
reacted with the white primer. Both primers were now rather "gooey".
Pulled out the 36 grit paper & sanded everything away. That's right,
we're back to step 5. Start the final finishing over again. I spread a
thin layer of epoxy over everything & start sanding tomorrow. Weeeeeee |
Sure
bartender, I'll have another
Red Stripe!
In fact, Red Stripes all around! |
You guess
what he's doing. In fact make up your own joke. |
Red stuff
sanded off, again. Smooth & ready for primer. Feels like Monday for
some reason? |
 |
 |
 |
 |
|
All primed
up! |
Another
primer shot. Little more putty to hide the pinholes, another coat of
primer & we're ready for the finish coat! If nothing goes wrong..... |
More red
goo, fill in those damn pinholes! |
Red stuff
sanded off. Tack rag, wipe it off with acetone &&& |
 |
 |
 |
 |
|
Look ma
more primer! This time nothing funny happened. Phew! Another
quick shot with the red putty, primer those spots & we're slappin' on
the finish coat! |
And on the
456th day, Lee proclaimed, "let there be paint!" So he brought forth
the sprayer & sprayed. |
Yup!
Actually started spraying the finish layer of paint! Everything seems
to be behaving, got the first 2 coats on. Let it dry, do a light
sanding & another coat or 2 should do it. Except for the crap falling
out of the trees, it looks pretty good. |
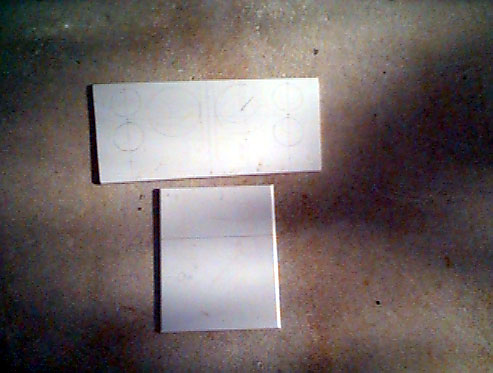
I also
made these today, pretty impressive huh? |
 |
 |
 |
 |
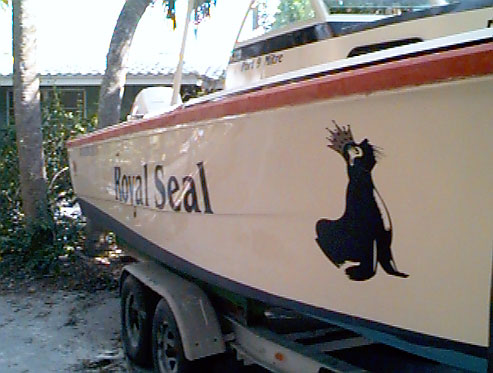
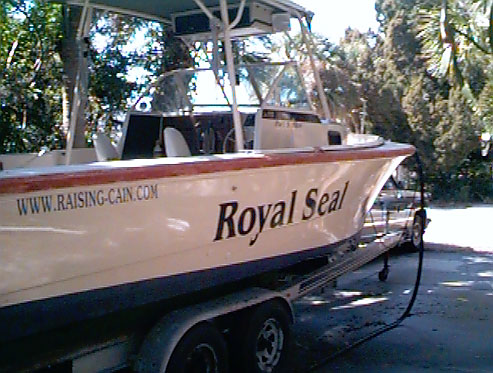
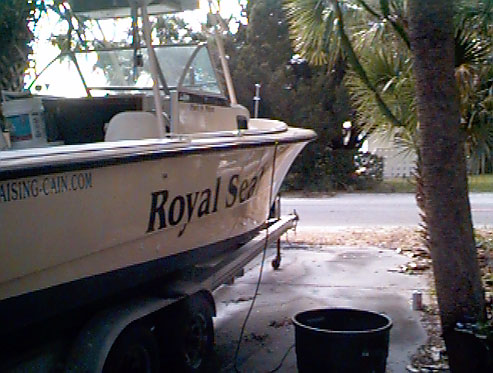
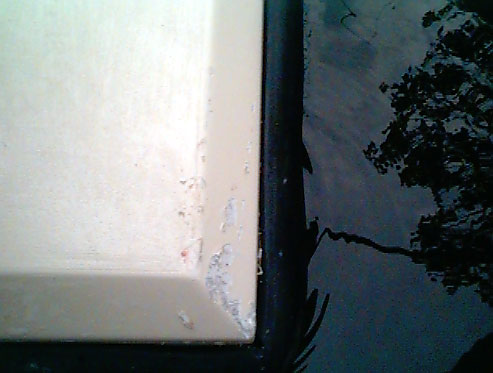
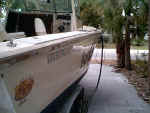
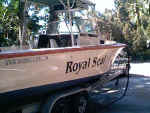
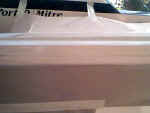
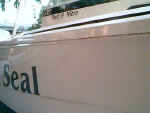
Ta DAH!
I dare you to point out where the damage was. If you do, you will:
1. Be Killed
2. Be drowned
3. Have to buy a summers worth of beer for the RS.
Not necessarily in that order |
Damn
straight, damn shiny. In fact there's gonna have to be some buffing to
get the old paint close to the new. |
Only one
pic today. Dash is progressing nicely. One thing to remember, don't
use a pencil on Starboard. |
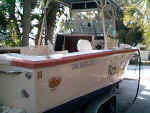
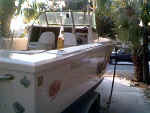
Ta-DAH!
Rub rail back on, most of the crap cleaned out of the boat. It's done! |
 |
 |
 |
 |
|
Why yes,
I'll have a Red Strip! This time a real one! |
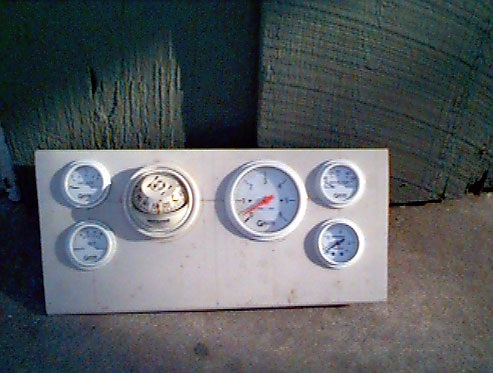
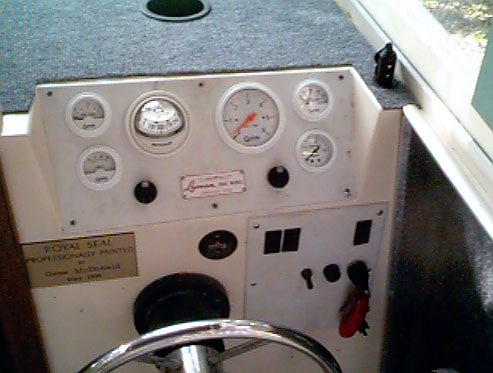
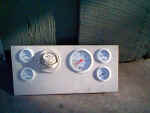
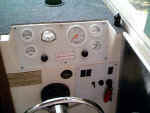
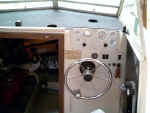
Snazzy new
dash. For security reason I cannot tell you what all the switches do. |
Look! A
Doo-Hickey! 8 Diodes, no waiting. |
Another
dash shot. You can see the new dash, & cup holder. Impressed aren't
you? |
 |
 |
 |
 |
|
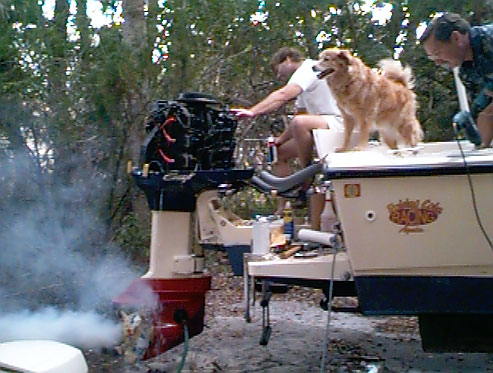
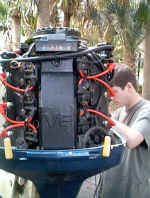
Secret
High Speed coating for the lower unit. The prop is covered to protect
it's secrets as well. |
See, it
runs! Video coming soon!
Vroom vroom!
|
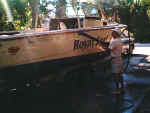
Sunday
-2/18/01 Boat launched, all went smoothly.
2/23/01
Ding dong, the ding is done!
Back to the scene of the crime! |
|
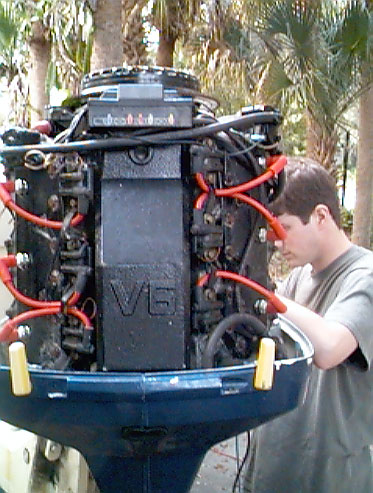
Red spark
plug wires add 75 HP right? |
|
|
|